Product Overview
Product Overview
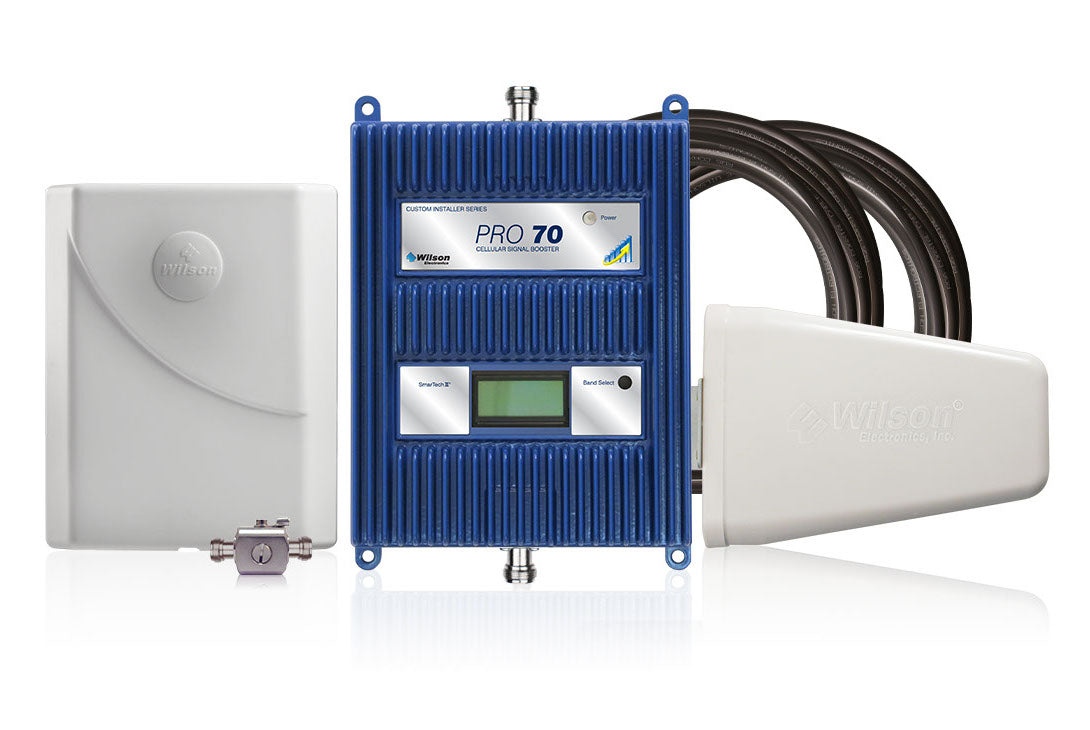
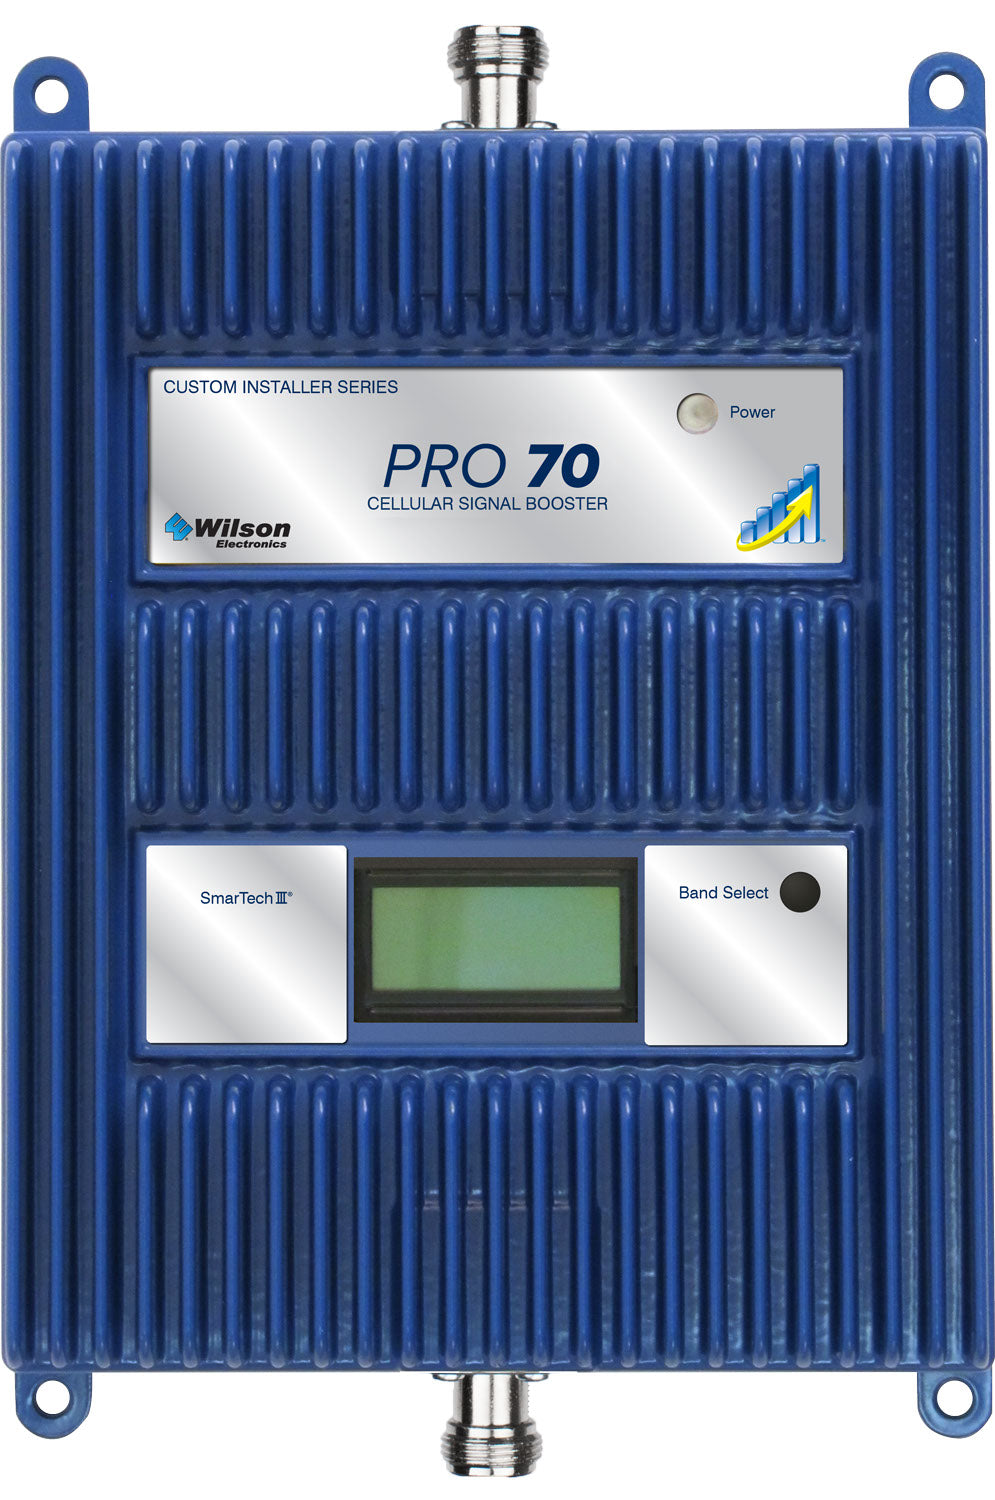
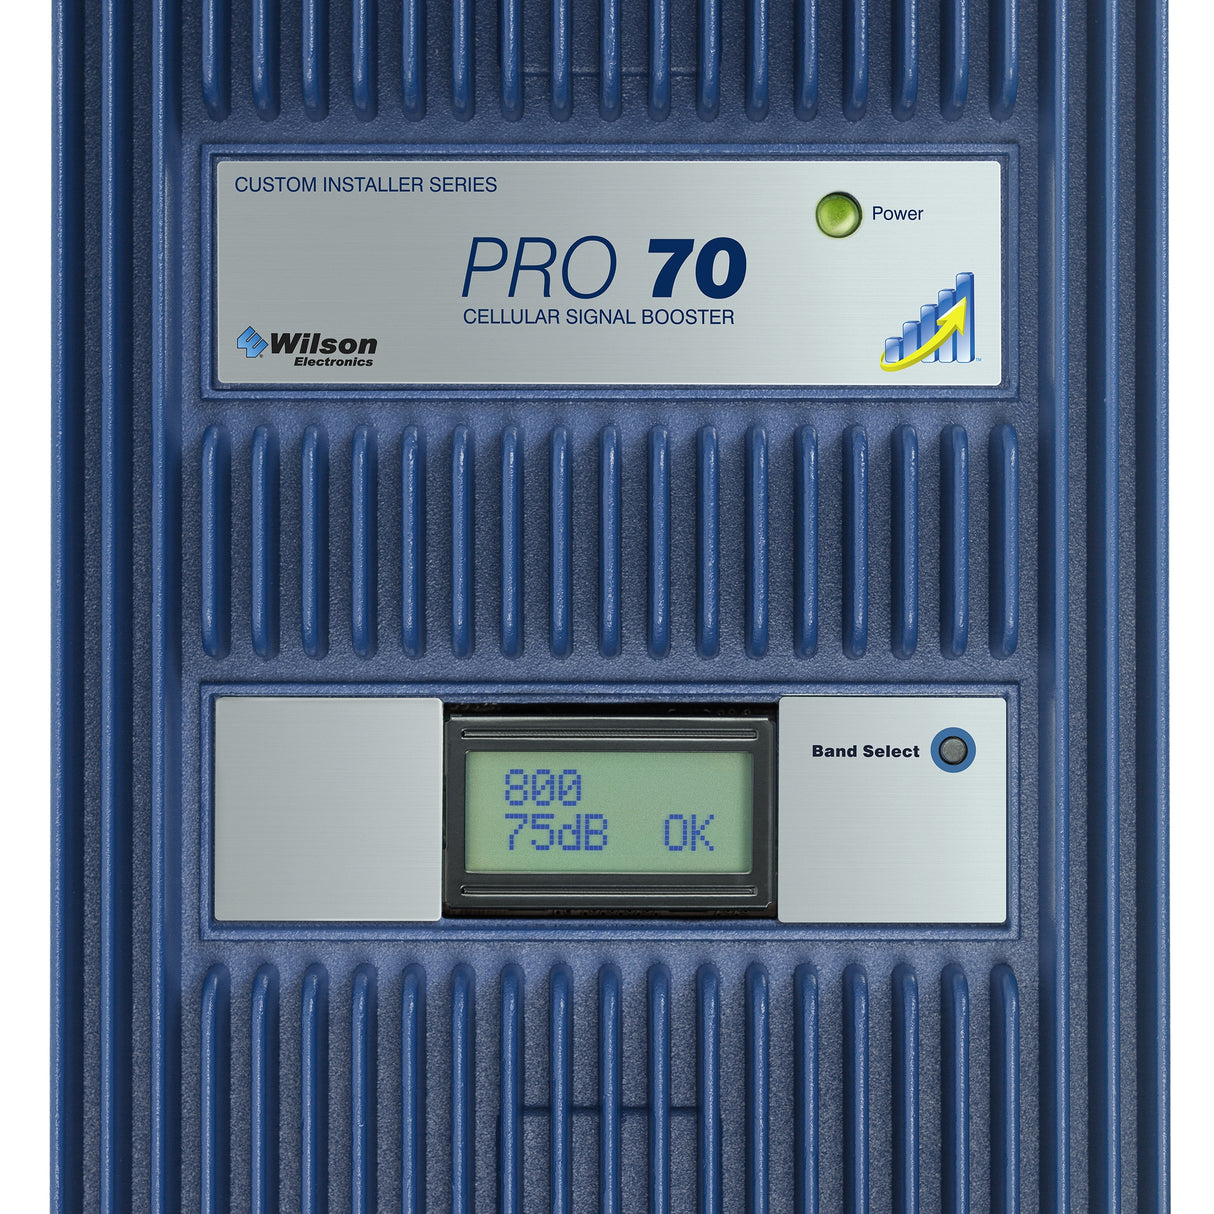
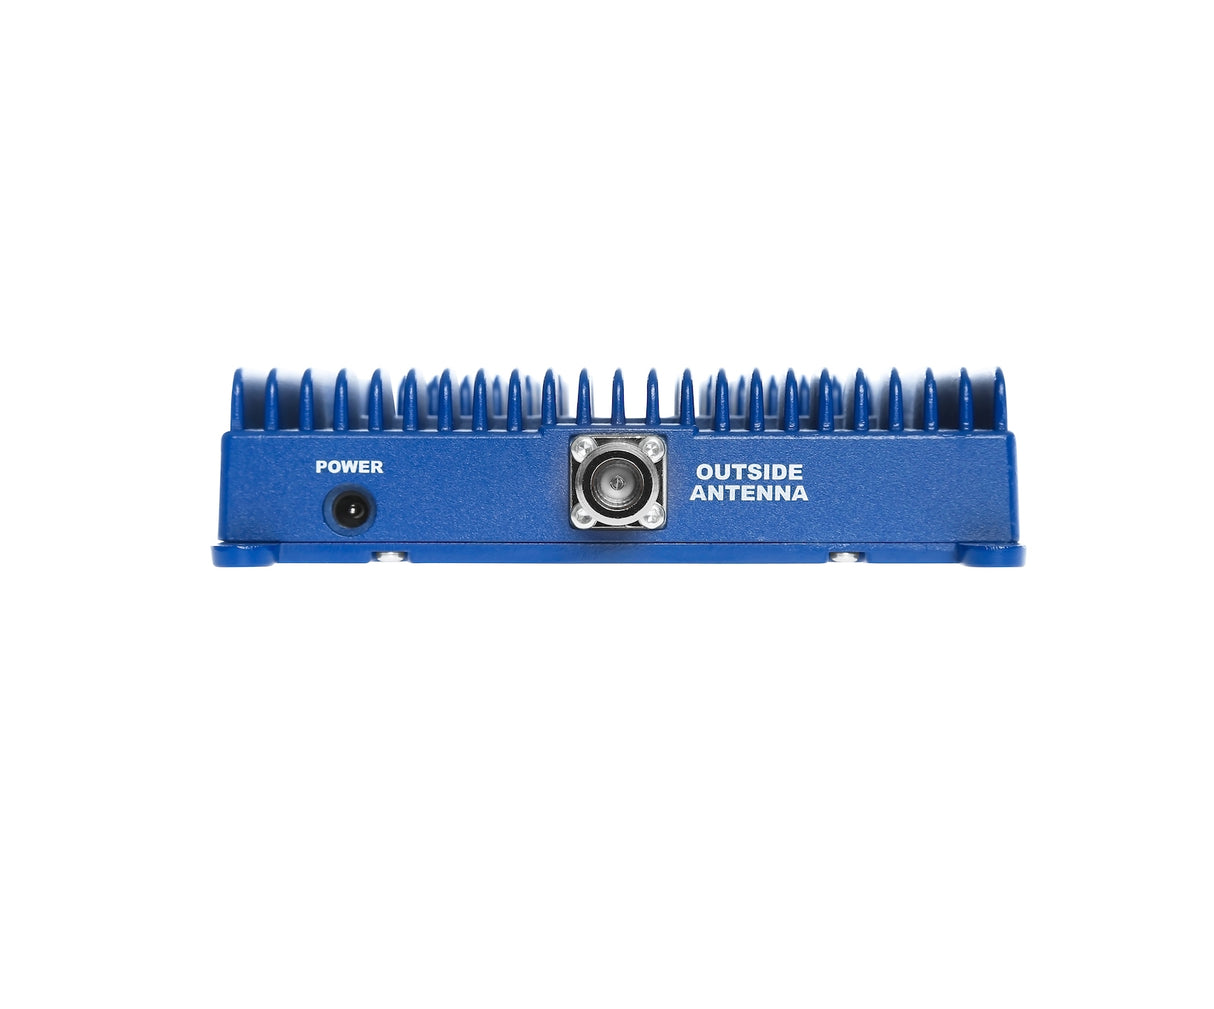
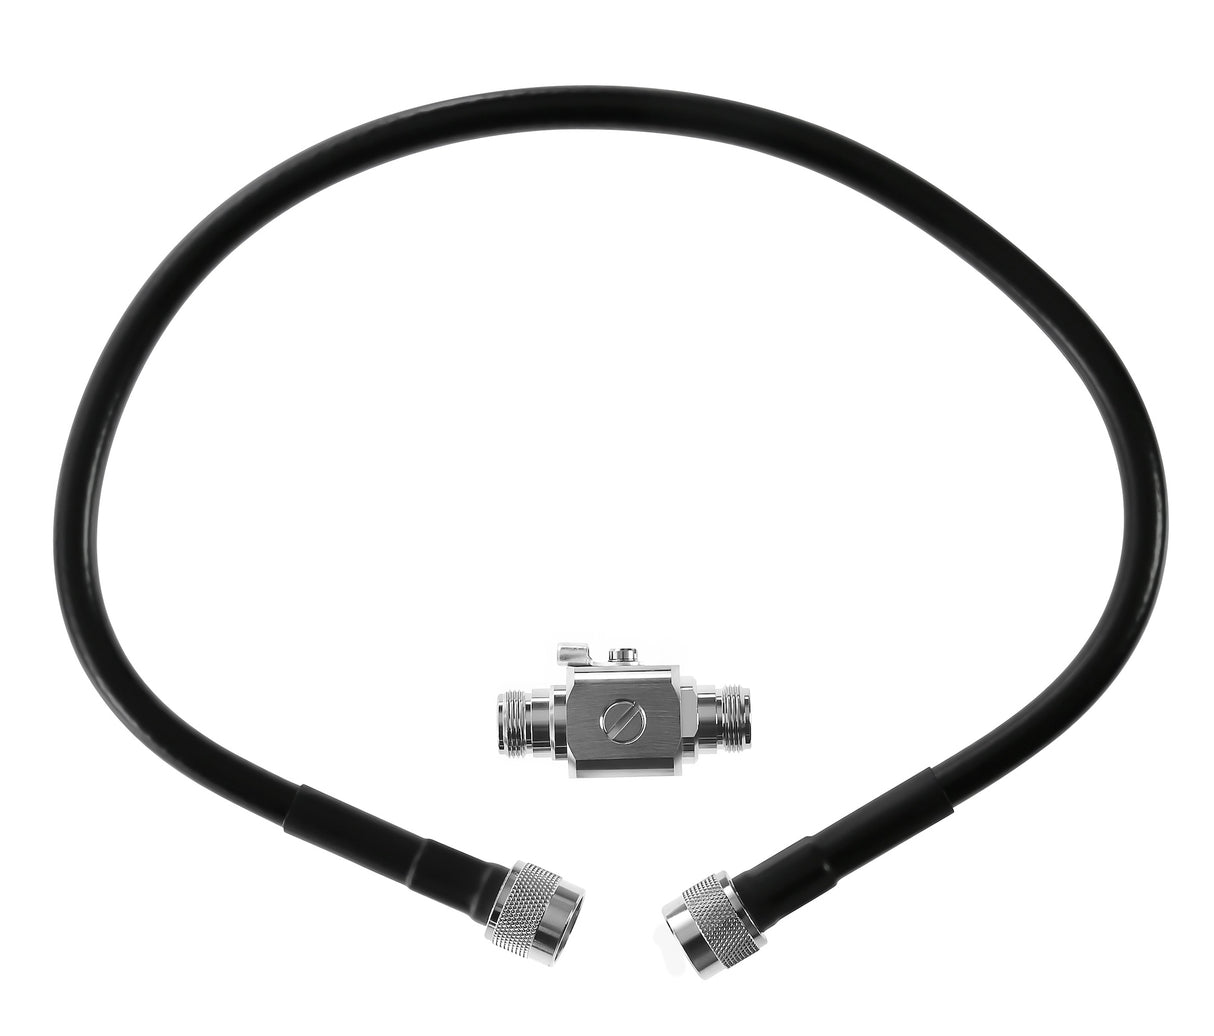
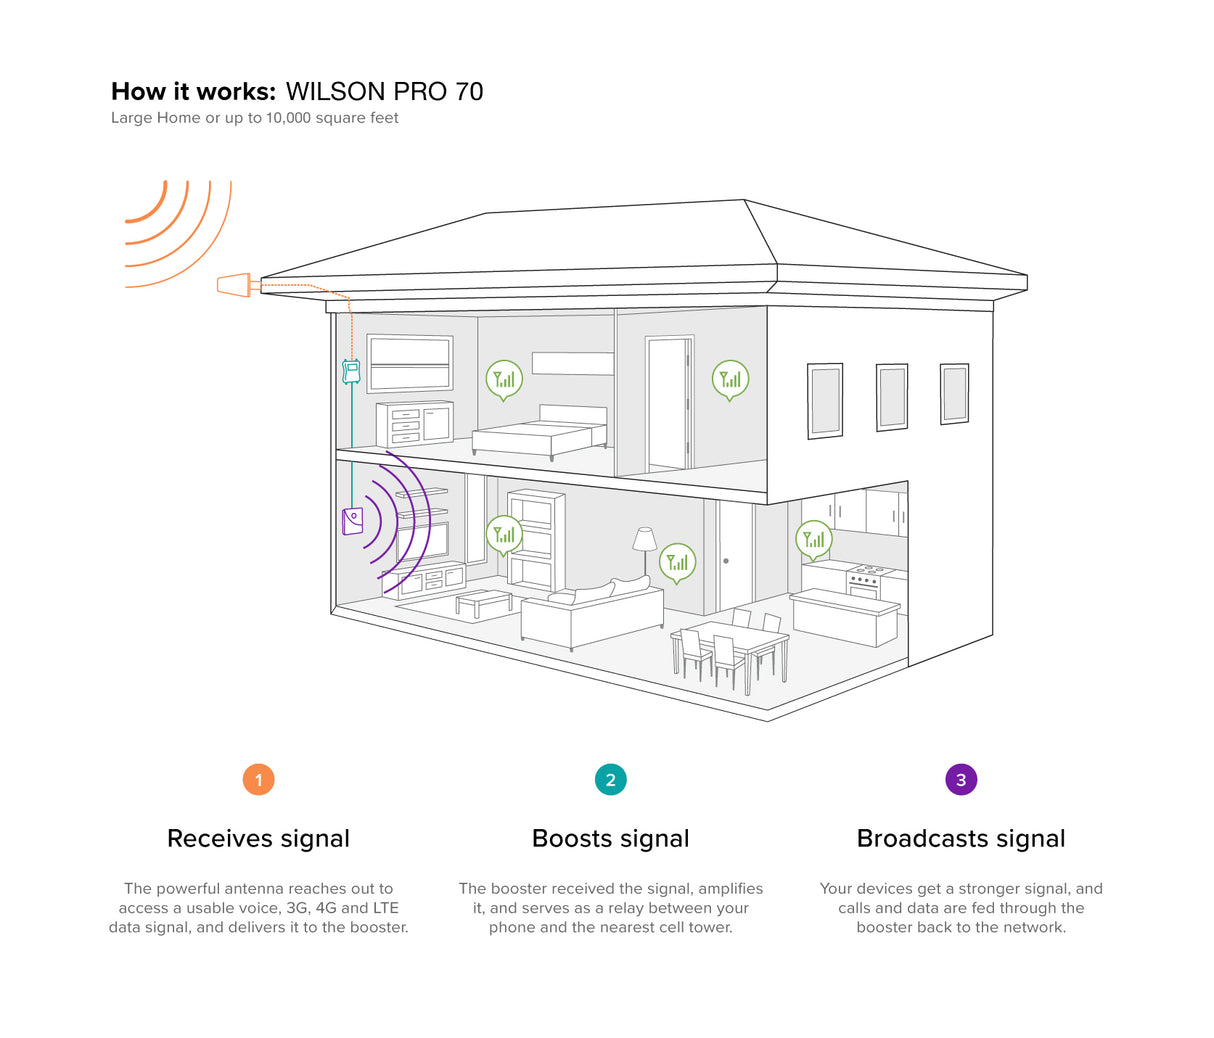
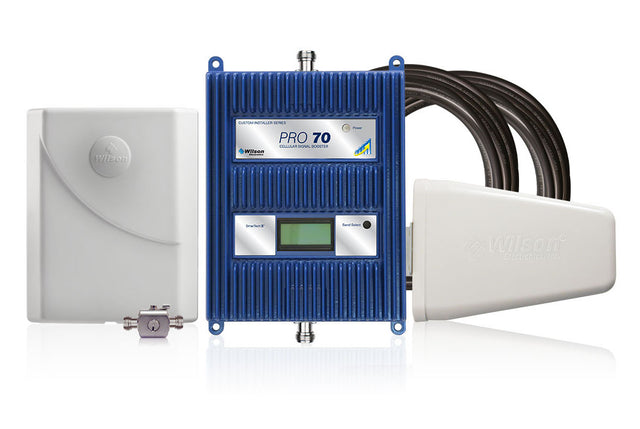
The Wilson 465134 Pro 70 Signal Booster kit is a one of the most powerful professional grade cell phone signal booster kits on the market designed to boost the 2G, 3G and 4G LTE networks from the major carriers in North America throughout a house or building. It comes with a directional outside antenna, panel inside antenna, our best grade cable, and features an amplifier with an LCD display to allow for monitoring system performance and troubleshooting. In addition, the kit comes with a lighting protector and 2 ft jumper cable, in order to protect from surges running down the external antenna cable.
Coverage Area
The existing outside signal strength that you receive from the roof of your home or office (where you would mount the outside antenna) has a large impact on the amount of coverage area you get from a signal booster. It is important to remember that there are many factors that go into determining the coverage area, so actual results may vary from these estimates.
If you have an existing strong 5-bar outside signal, you may receive up to 4,000 sq ft of boosted signal inside the building.*
If you have an existing 3 to 4-bar (-90 dB) outside signal, you may receive up to 3,000 sq ft of boosted signal inside the building.*
If you have an existing 1 to 2-bar (-100 dB) outside signal, you may receive up to 2,000 sq ft of boosted signal inside the building*.
If you have no existing outside signal, then a signal booster likely will not work in your situation unfortunately.
Additional Coverage
If you require more coverage than you can get from a single Wilson Pro 70 system, it is possible to use multiple kits within the same building. Each Wilson Pro 70 system would require its own dedicated outside antenna. Each outside antenna should be mounted at least 5 ft. from all other outside antennas. If you're not sure about how to cover your larger building with a boosted signal, please contact us for assistance.
Supported Carriers
The Wilson 465134 Pro 70 Signal Booster kit supports the 2G, 3G, and 4G LTE networks from virtually all carriers in the United States and Canada. For other locations, please consult the frequencies outlined below to see if this product will work for you.
Here is a more detailed breakdown of the carriers, networks and frequencies boosted by this kit:
AT&T 2G, 3G, 4G HSPA+ & 4G LTE
Verizon 2G, 3G, 4G LTE & XLTE
Sprint 2G, 3G & 4G LTE
T-Mobile 2G, 3G, 4G HSPA+ & 4G LTE
US Cellular 2G, 3G & 4G LTE
All other carriers using 700 MHz, 800 MHz, 1900 MHz, and AWS 1700/2100 MHz frequencies
Please Note: This signal booster kit will not work in most European, Asian, and African countries because the frequencies used there are different than those boosted by this equipment.
Kit Includes
Wilson Pro 70 Amplifier with LCD Display
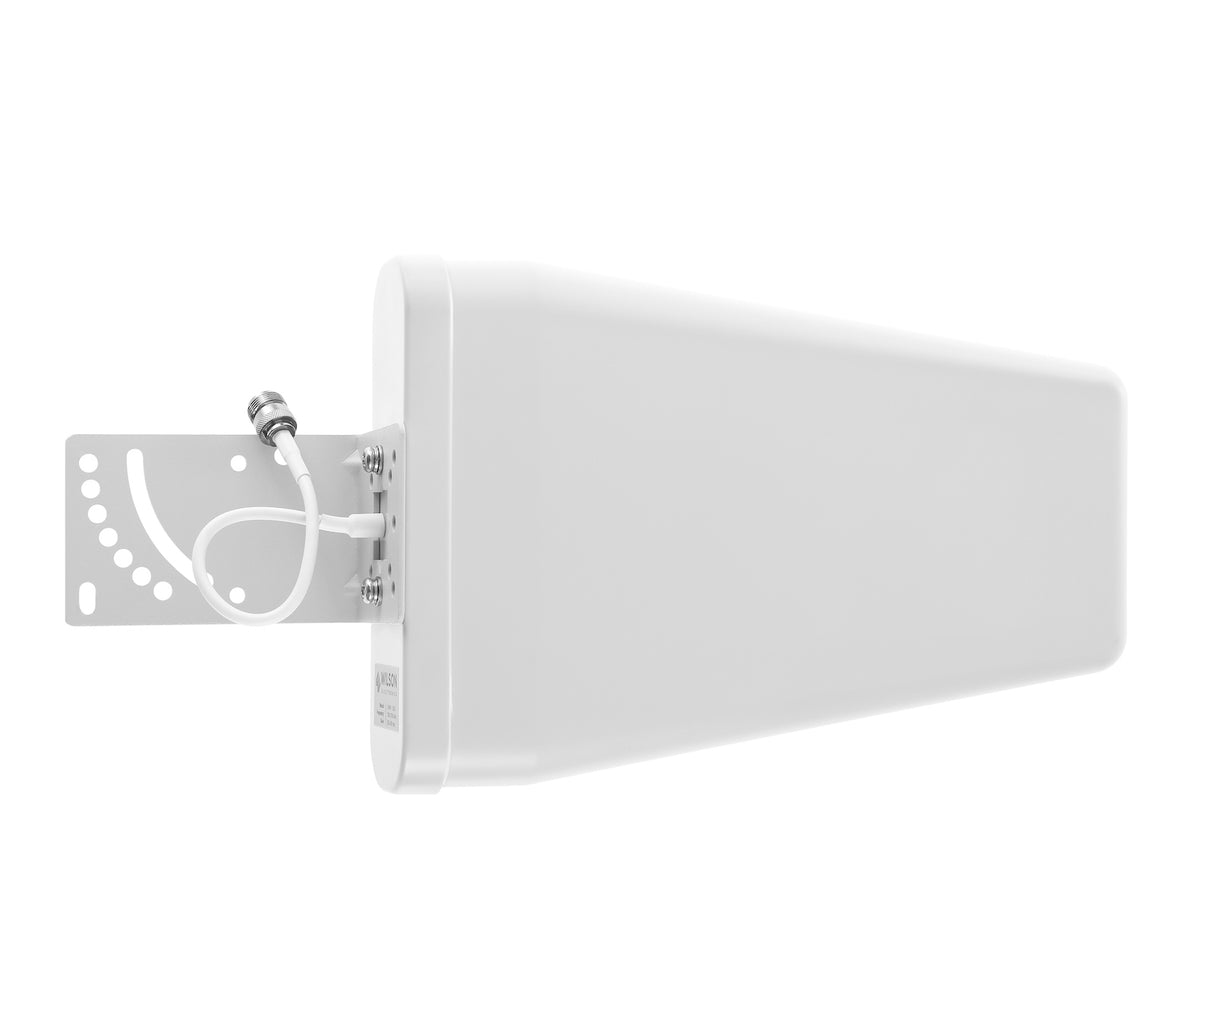
Wilson Yagi Directional Outside Antenna
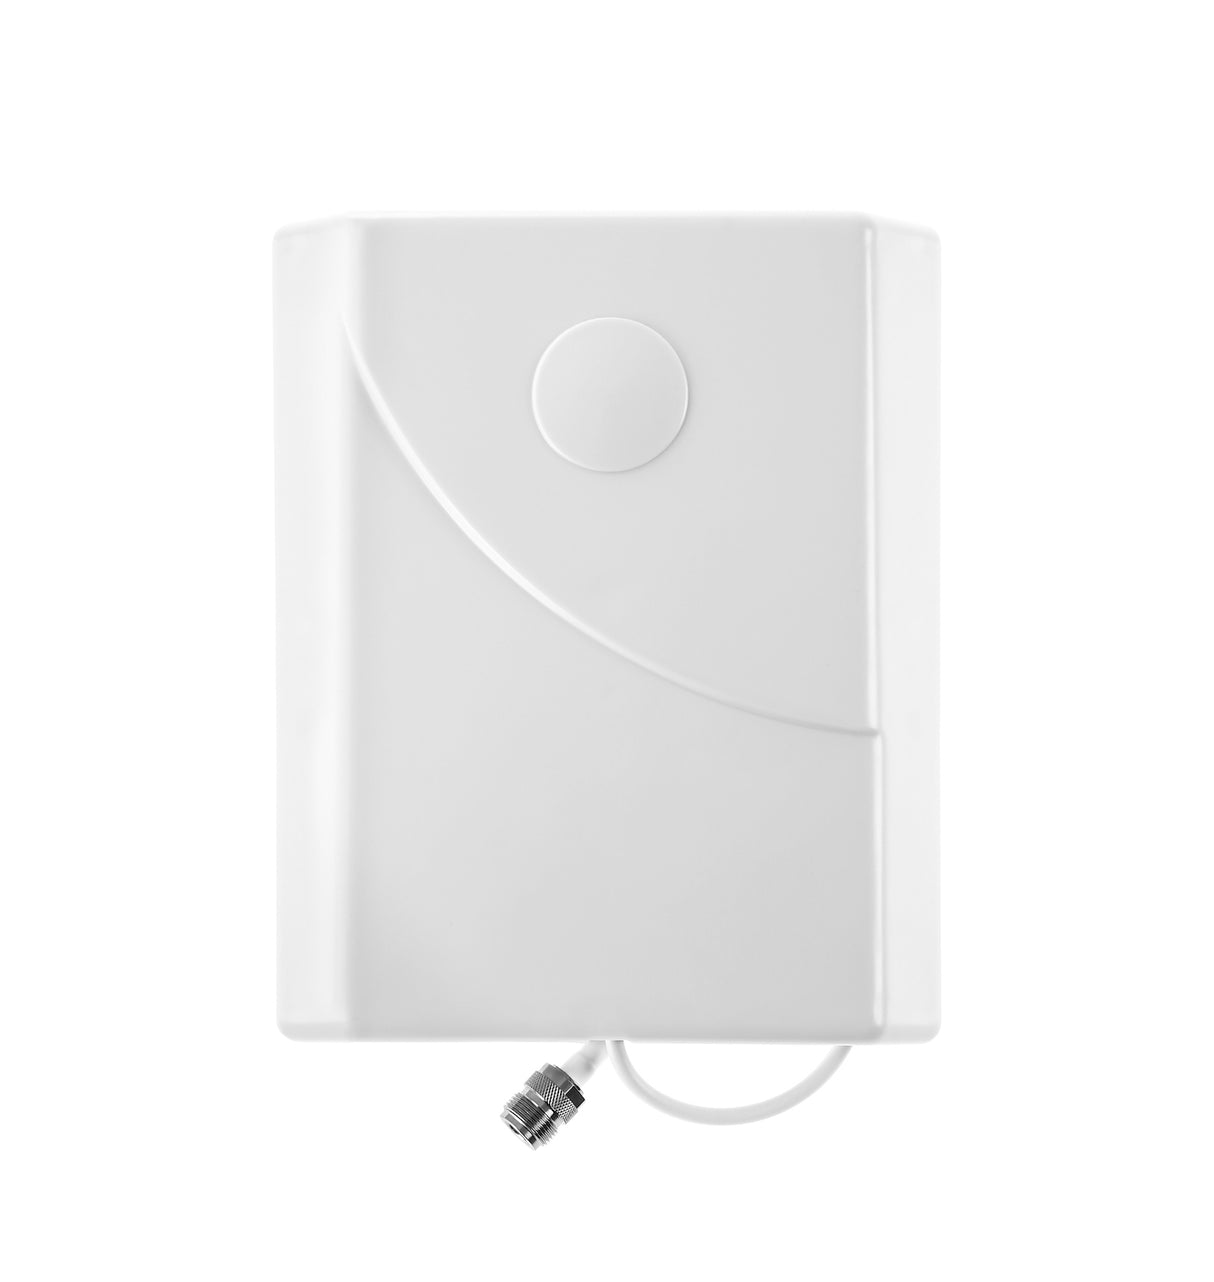
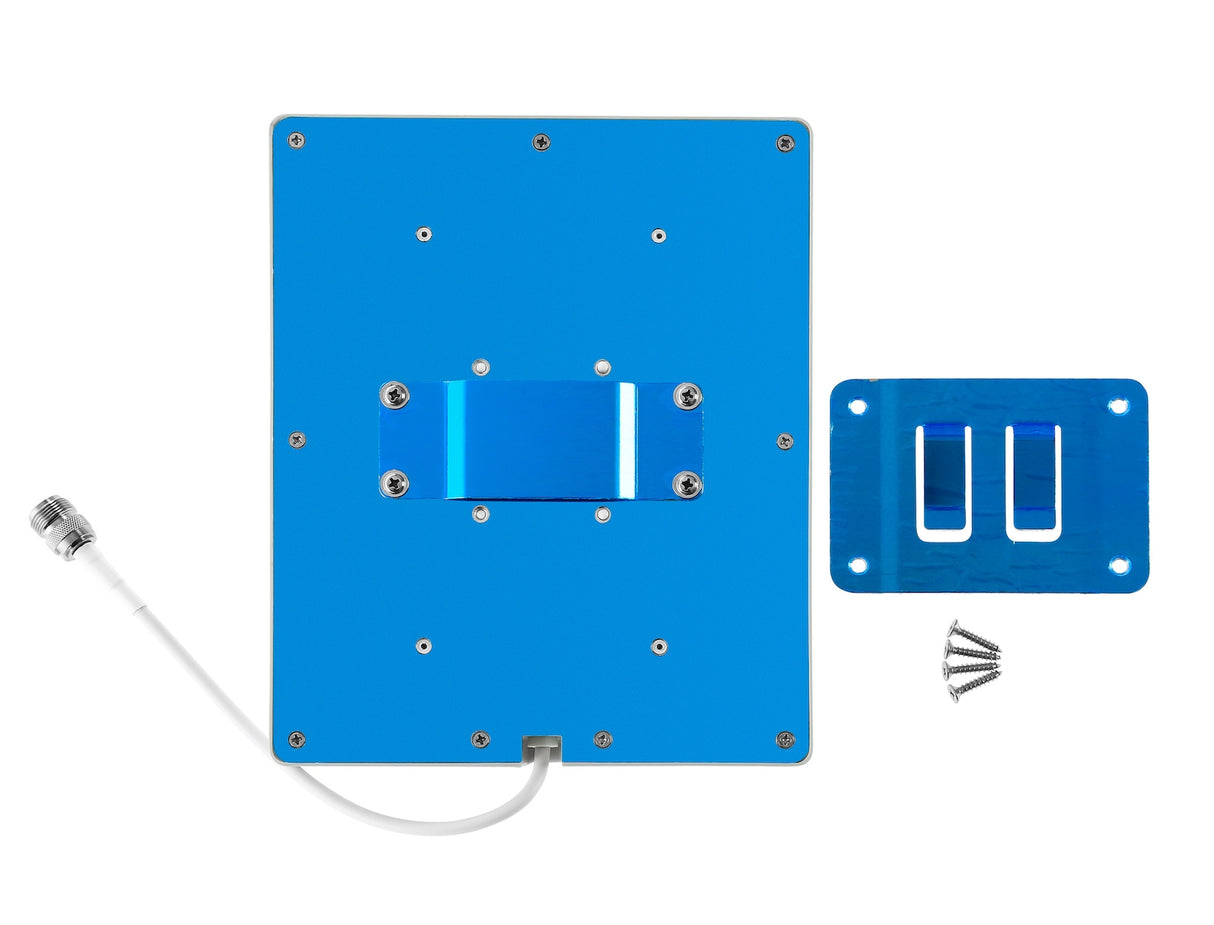
Wilson Panel Inside Antenna
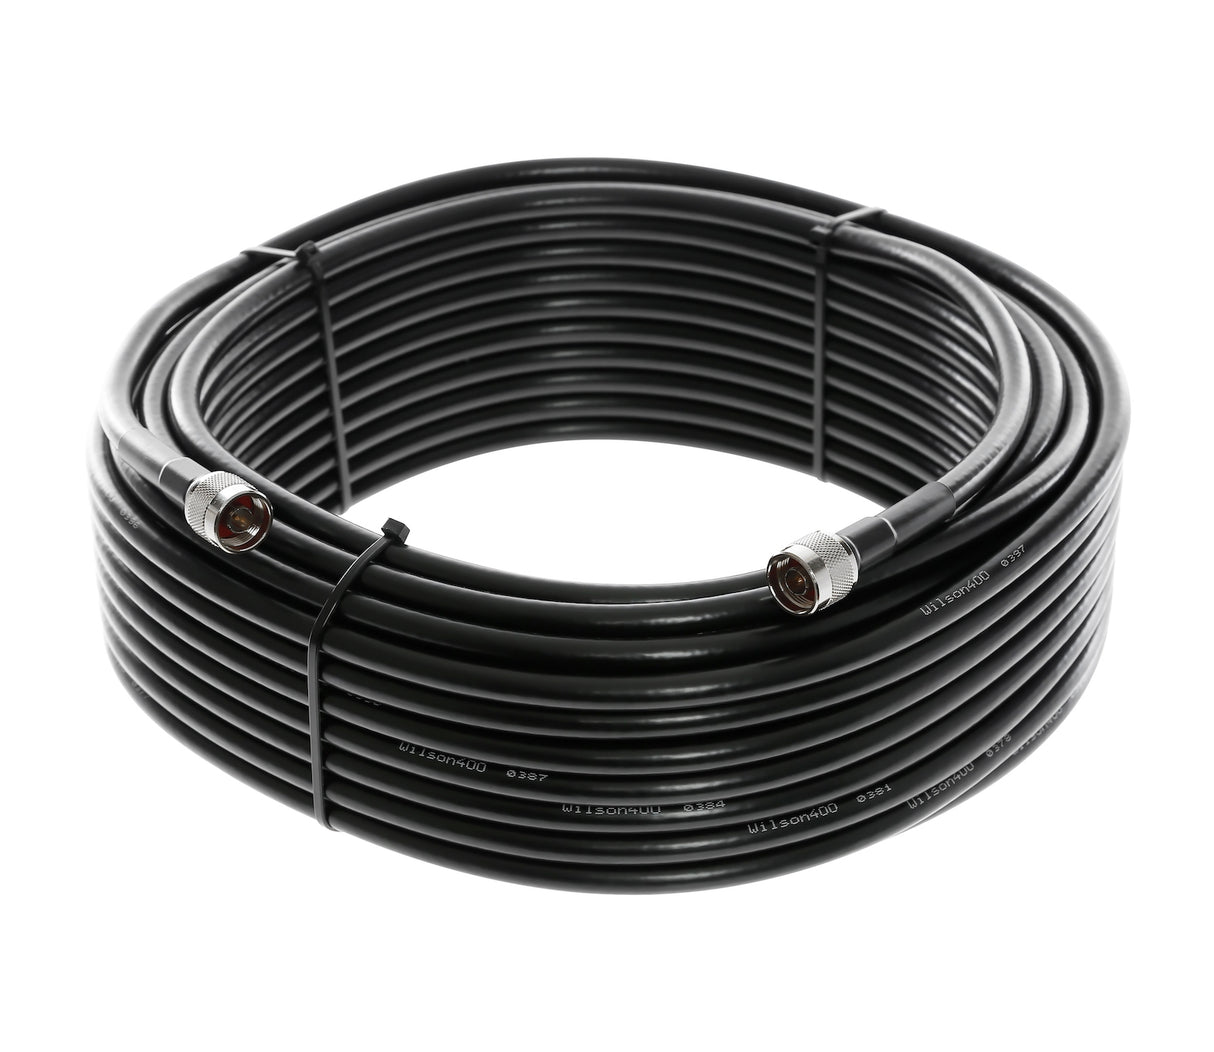
75' Black Ultra Low Loss Cable (952375)
60' Black Ultra Low Loss Cable (952360)
Lightning Protector
2' Black Ultra Low Loss Cable
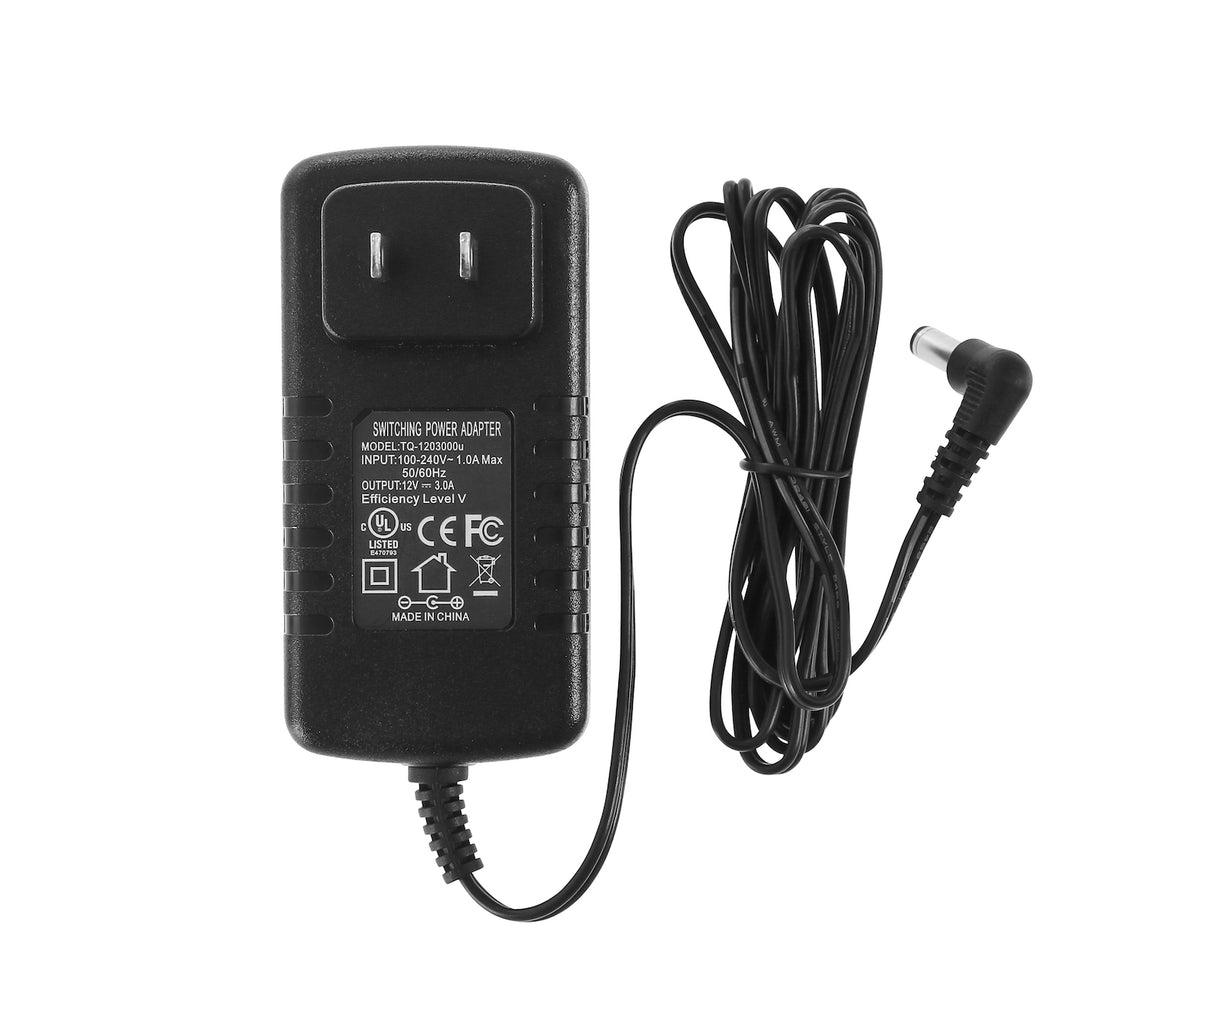
AC Power Supply
Installation Guide
Accessories
The Wilson 465134 Pro 70 comes with everything that you need for immediate installation, however, there are a few of additional items you may want to consider.
The included directional outside antenna is designed to be mounted to a pole that is 2 inches in diameter or less. If you do not have an existing tv antenna or other pole you plan to use, a Pole Mount Kit is a convenient and low cost option. It simply attaches to a flat vertical surface and provides a foot of vertical pole to attach the antenna and rotate into place.
In some instances, you may need to add additional antennas to your installation, to account for irregular building shapes or internal walls that are obstructing the flow of signal. In that case, you can purchase the Add-On 1 Inside Panel Antenna Kit, Add-On 2 Inside Panel Sntenna Kit, or Add-On 3 Inside Panel Antenna Kit, which include everything you need to add additional panel antennas to your installation.
Installation Overview
Installing the Wilson 465134 Pro 70 Signal Booster kit system is fairly straightforward, but will require running cable from the roof or elevated location into the building, as well as potentially drilling and screwing in components.
Additionally, before you begin, we recommend that you start with a soft installation, where you don't permanently mount components, drill holes or finalize cable runs until you're sure that the system is performing to the level that you would like. Once you've tested out antenna and component locations, and are satisfied with the results, then you can go ahead and permanently install everything. Finally, read through the entire set of installation instructions both here and in the included manual before beginning, and feel free to call us with any questions before you proceed.
We'll start the installation from the roof and work our way into the building. First, start by determining the part of the roof that receives the best signal, as we'll want to locate the directional antenna there and ideally aim it away from the building (and not back over the roof). Once you've identified the portion of the roof which is best, locate the vertical pole which you'll be mounting the yagi directional antenna as high up on the roof as possible. Attach the directional antenna and temporarily aim it away from the building. Run the 75 ft. cable from the antenna into the building.
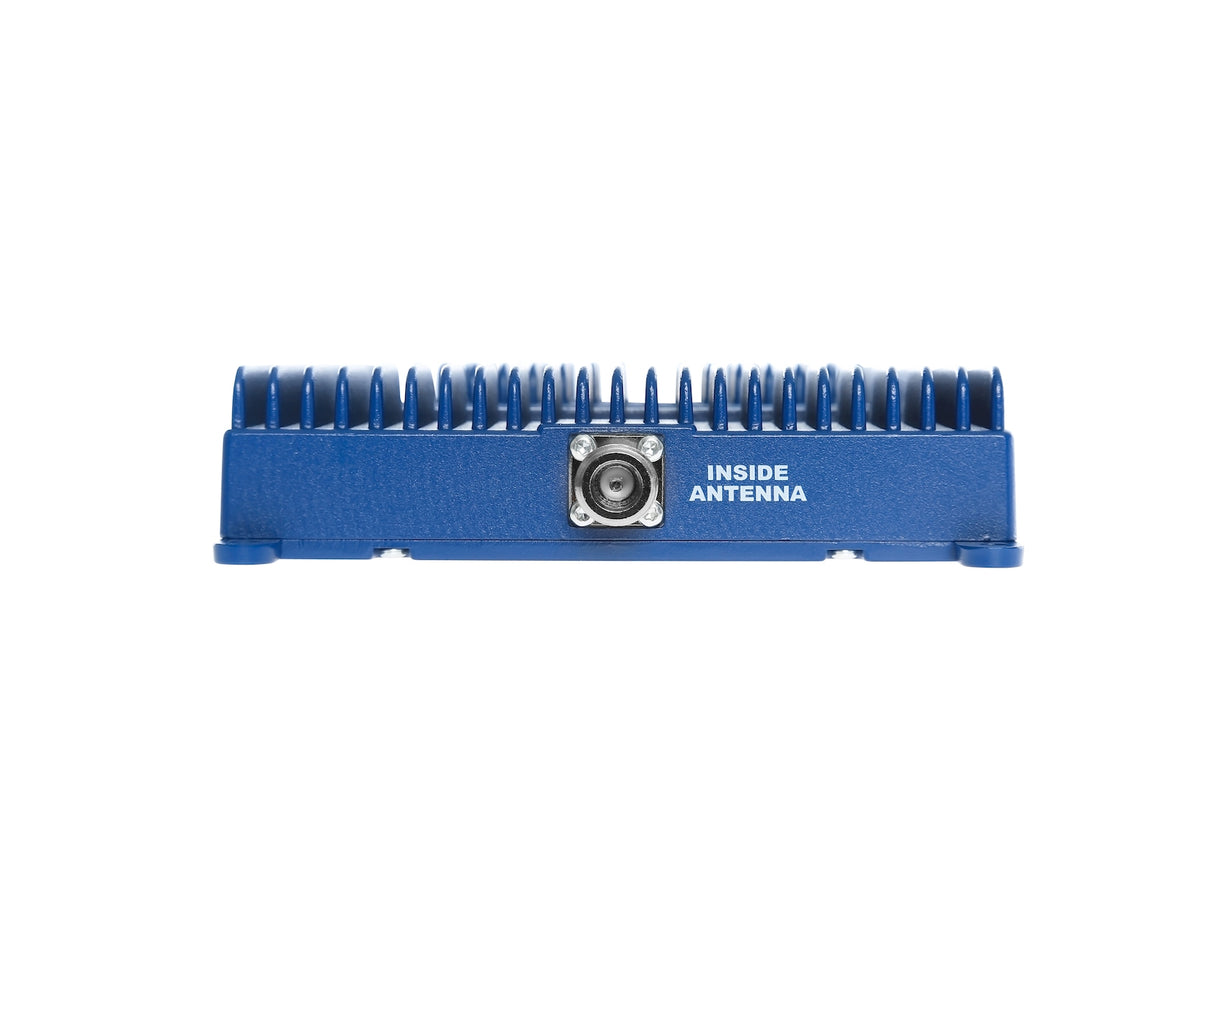
Once the cable is inside the building, run the cable to the area where you plan to locate the amplifier. Attach the included lightning protector and then connect the 2ft cable to the "Outside Antenna" port of the amplifier. Connect the 60 ft cable to the "Inside Port" on the other side of the amplifier, and run it to the location where you plan to mount the inside antenna. Attach the antenna and install either on the ceiling facing downwards, or on the wall facing across the area that you want to cover with boosted signal.
Once all of the components are connected, power on the amplifier by plugging it in. As it's powering up, you should see the lights flashing, and then check to see that they turn solid green. If the lights are not solid green, check out the portion of the owners manual that discusses the indicator lights to find out what they mean. Of, you can always contact us for help.
Directional antennas must be aimed for best results. When aiming and when mounting the antenna, make sure that it is parallel with the ground, do not aim it up at the sky or down at the ground. Start with the antenna high on the roof pointed in one direction. Turn on the system and have a person inside stand 10 ft in front of the inside antenna and take a signal reading with their phone in field test mode. Rotate the outside antenna 45 degrees (1/8th of the way around) and then pause for 60 seconds. After the pause, the person inside should take another signal reading from exactly the same spot, and then you can repeat the process. After you've gone all the way around, mount the antenna facing in the direction with the strongest signal (decibel signal reading will be closest to 0). If possible, also mount the antenna on that side of the home or office so that it's pointing away from the building and not over the building.
The included manual is very helpful and we recommend reading through it before beginning the installation. If you run into any issues, feel free to contact us for help.
* The actual coverage area of a signal booster is dependent on many factors including existing outside signal strength, obstructions between you and the cell tower, the materials used in your home or office, the layout of the area you need to cover with a boosted signal, and other factors. The approximate coverage areas listed above are estimates. Actual coverage area will vary based on these and other factors. If you're not sure if a system will be powerful enough for your needs, contact us to find out.
